
I absolutely LOVE getting my nails done (who doesn’t?) and I equally love doing my own nails myself.
I find it relaxing actually. I normally do mine during the weekend while catching up on some of my favourite YouTubers. And just in time for a new week ahead, I’ve noticed a trend floating around in the nail art community, which happens to be the marble technique.
So I decided this week I’d try it out for myself and attempt the Stone Marble look.
The items you need are quite simple. White nail polish for the base, grey or black nail polish for the marble effect and a top coat.
You’ll also need, a bowl of room temperature water, hair spray, Q-tips and nail polish remove (it can get a little messy)
If you have all these items, read ahead and check out my tutorial on the stone marble nail art!

Step 1: After you’ve done your personal nail care of cutting, filing and buffing. Apply a base coat before you apply two coats of you favourite white nail polish.

Step 2: Once your base colour has fully dried, we can now get to the fun stuff. Have a bowl of room temperature water ready and make sure that it’s not too cold or not too hot. With your chosen colour of either gray or black, as close as you can to the surface of the water, let a few drops fall. The nail polish will spread evenly out on the surface of the water. If it doesn’t, make sure that your nail polish isn’t too old and that it’s nice and shaken before use. During trial and error, I found that if I used an older polish, that it wouldn’t work so well.

Step 3: Almost immediately after dropping some nail polish on to the water, lightly spray some hair spray on top. This will react to the nail polish and create a web like effect. Once you’ve sprayed the hair spray, carefully dip your finger (nail down) on to the desired part of the grey or black nail polish and leave for a few seconds.

Step 4: While your finger is still in the water, use a Q-tip or toothpick to collect the excess nail polish floating around. Take your finger out of the water and clean off any nail that’s left on your finger. 
Step 5: Apply a top coat and wait for it to dry. Once your nail polish is completely dried, follow the steps again on all your other nails!
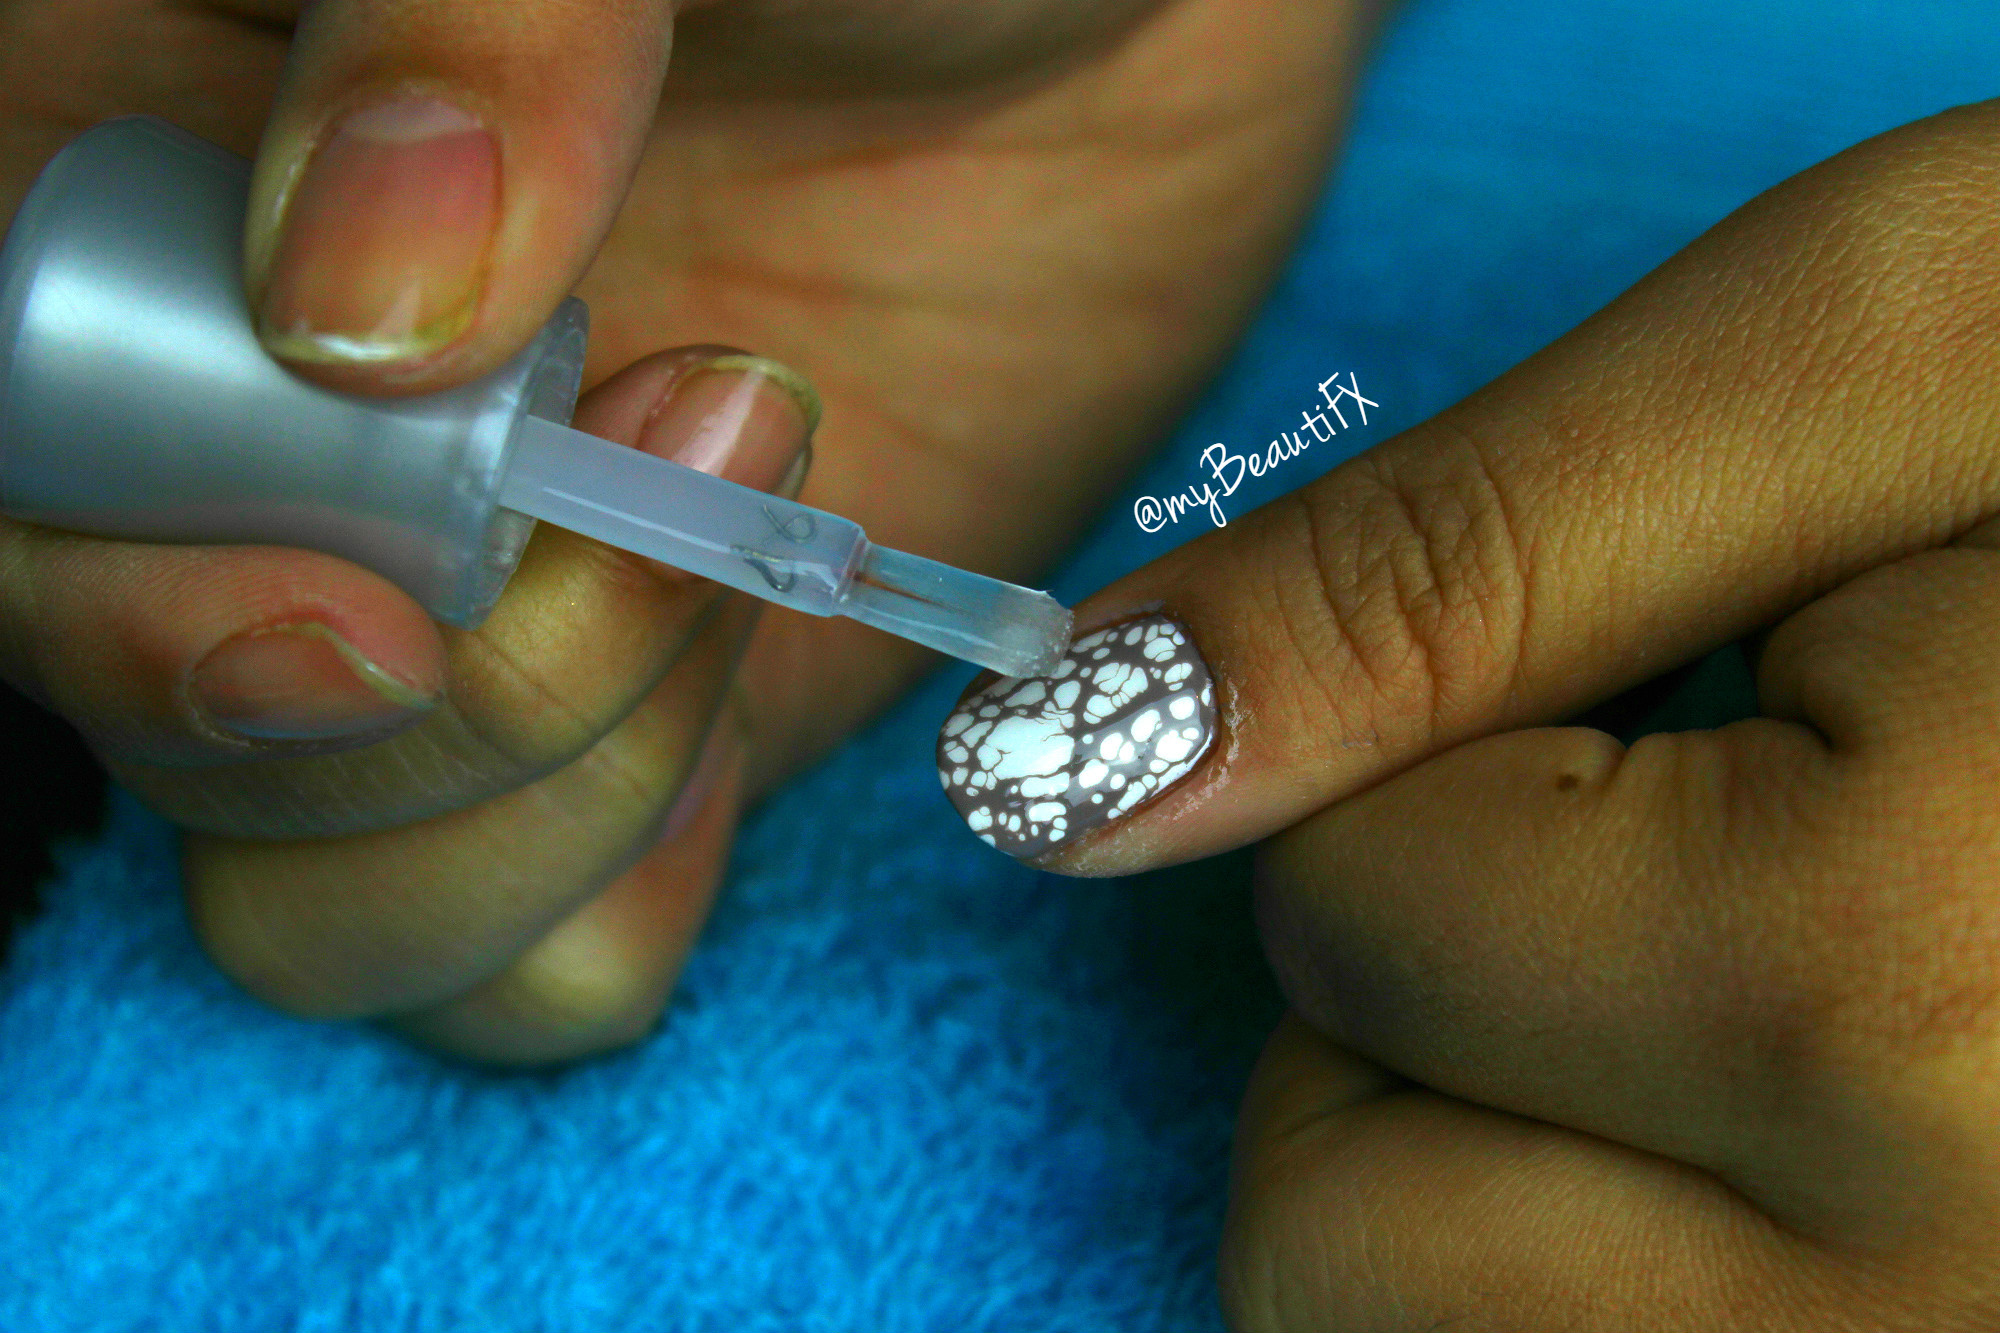
And voila! Stone marble nail art! It’s a really fun and different way to paint your nails but trust me, if you’re in a rush, this is not the nail technique for you. It’s tedious and sometimes downright frustrating, when the hair spray doesn’t react to the nail polish like you want it to. Believe me, I know! But if you’re into your nail art, you can appreciate the different designs each nail will look like. And remember, you don’t have to do a white base with gray or black. You have all the colours of the rainbow to be creative with! Check out some of the other water marble designs below and get some #NailArtInspo!

Until next time,


OMG these are gorgeous!! Love this post. Would love if you could check out my latest post too xxx
LikeLike
You’ve got a great blog! I’ll be happy to follow a fellow beauty blogger 🙂
myBeautiFX
x
LikeLiked by 1 person
aw thanks so much lovely x
LikeLike
Love this! So pretty!
LikeLike
these look so fun! DF xo
http://www.doaner-fide.com
LikeLike
They turned out great, must try this one day looks like a fun mani project 😍
LikeLike
Its very tedious but if you’re a nail art lover like me, you’ll definitely appreciate it 😘
LikeLike
omg! they look gorgeous! Great post!
http://biscuitsandmakeup.wordpress.com
LikeLiked by 1 person
Hey hun, just nominated you for “the real neat blogger award”! Sorry if you’ve already been nominated but please check out my blog post: https://bakergirlfashionista.wordpress.com/2015/08/14/the-real-neat-blogger-award/
LikeLike